


Cold-proofed Dutch Oven Bread
Scan the QR code to open the recipe on mobile.

Gastrotools
Recipes from professionals

This Dutch oven bread is a bit out of the ordinary: Although it is not made with a stand mixer, a lot of gluten structure builds up in the dough, so it can develop and rise beautifully. Then the dough is cold-proofed, so even better flavor develops. This is the bread you make when you really want to impress your guests or make a little extra effort on a Sunday morning.
By baking the bread in a cast iron casserole, the dough gets a heat shock while the steam is trapped inside, allowing the bread to develop before the crust sets. The result is an airy, juicy bread with a crispy crust.
The recipe uses rice flour so the dough does not stick to the kitchen towel. If you don't have rice flour, you can use other flour, but rice flour does not absorb moisture the same way as wheat flour, for example – therefore it is most effective to use in this context.
Tip: The dough has a high water content, which can make it harder to handle. You can therefore add a little less water if you are a beginner in baking. When you have had success with the bread, we recommend slowly increasing the water amount to that of the recipe, as it gives a juicier crumb.
Recommended products
Servings
: 1
bread
Ingredients
2
g
yeast
500
g
cold water
100
g
sifted spelt
475
g
wheat flour
15
g
fine salt
rice flour
Avoid screen shutting off
Instructions
Step 1/13
Mix water and yeast in a large bowl until the yeast is dissolved.
Step 2/13
Add the sifted spelt, wheat flour, and salt, and stir around until there is no more dry flour. You should not knead the dough. Scrape down the sides of the bowl, cover the bowl, and let it rest at room temperature for 30 minutes.
Step 3/13
After 30 minutes, you should fold the dough to strengthen the gluten structure: Make folds by wetting your hands so the dough does not stick, then place both hands under the dough from each side just above the center away from you. Lift the dough slowly until the piece away from you releases from the bottom of the bowl. Release the dough again so the piece folds in under the dough. Be careful not to tear the dough when lifting – do it rather in several small repetitions. Turn the bowl half way and repeat. Turn the bowl a quarter way and repeat. Finally turn the bowl half way and repeat, so all four "sides" have been folded. Cover the bowl again.
Step 4/13
Repeat the folds in total four times with 30 minute intervals.
Step 5/13
When you have made the last folds, the dough has risen together for two hours. Let it now rise until it is almost doubled in size – approximately 1.5 hours more.
Step 6/13
When the dough is fully proofed, it should be shaped: Pour the dough out onto a clean counter. If you have a dough scraper, you can use it to shape the dough into a ball by pushing it under itself so the surface tightens up. Use a little bit of water on your hands and dough scraper so it does not stick. If you do not have a dough scraper, you can use your hands to tighten the dough along the counter – here it can be an advantage to use flour instead of water. When the dough is tightened up, it is easier to handle and sticks less.
Step 7/13
Place a kitchen towel in a bowl of approximately 3 liters, and dust with rice flour. Also dust a little rice flour over the dough, and place it in the bowl with the tightened surface facing down.
Step 8/13
Cover the bowl and place it in the refrigerator at approximately 5 degrees overnight.
Step 9/13
One hour before baking, place a cast iron casserole of 4.5 L in the oven and turn it on to 230 degrees convection.
Step 10/13
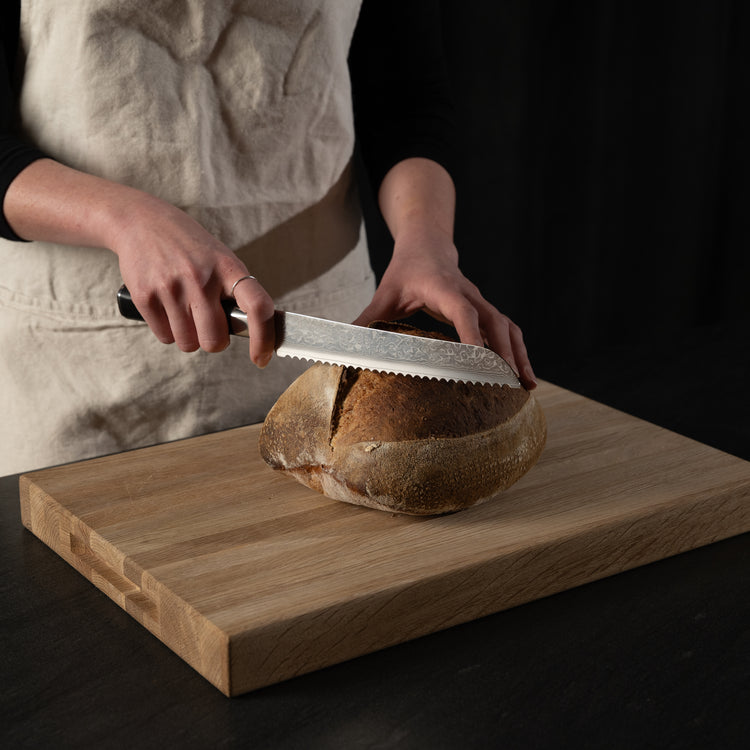
After one hour, take the cold dough out of the refrigerator and turn it out onto a piece of baking paper. Make a cut in the top of the dough with a sharp knife, lame, or a clean razor blade.
Step 11/13
Take the hot casserole out of the oven, remove the lid, and place the dough in it. Put the lid on, and place the casserole in the oven.
Step 12/13
Bake the bread for 30 minutes with the lid on. Then remove the lid and finish baking with top/bottom heat until the crust is brown and crispy.
Step 13/13
Cool the bread for at least one hour on a rack before cutting into it, so the crumb has time to set.
Discover more recipes
View all


